Remove Overlay from Image

Remove an old promo badge or decorative overlay from an authorized image. Include white borders, drop shadows, and tinted semi-transparent edges.

Scenario

An owned product or marketing photo may still carry an outdated sale badge, draft sticker, or decorative overlay. First look for the original layered file: deleting that layer preserves the real background. If only a flattened image remains, use a brush mask to request a generated replacement. A white cut-line border and a soft drop shadow extend beyond the graphic; a semi-transparent overlay also tints the area below it. Include the full affected footprint. Review packaging edges, fabric patterns, and product details, because an overlay can hide information the tool cannot know.

Remove an overlay →

See what the selection changes

We added our own overlays to existing public example images and processed them with CleanerPix on November 5, 2026. These are controlled demonstrations, not customer photos or a success-rate study. The results are actual edits, not the clean reference pictures.

Swipe to compare the input, selection, and result.

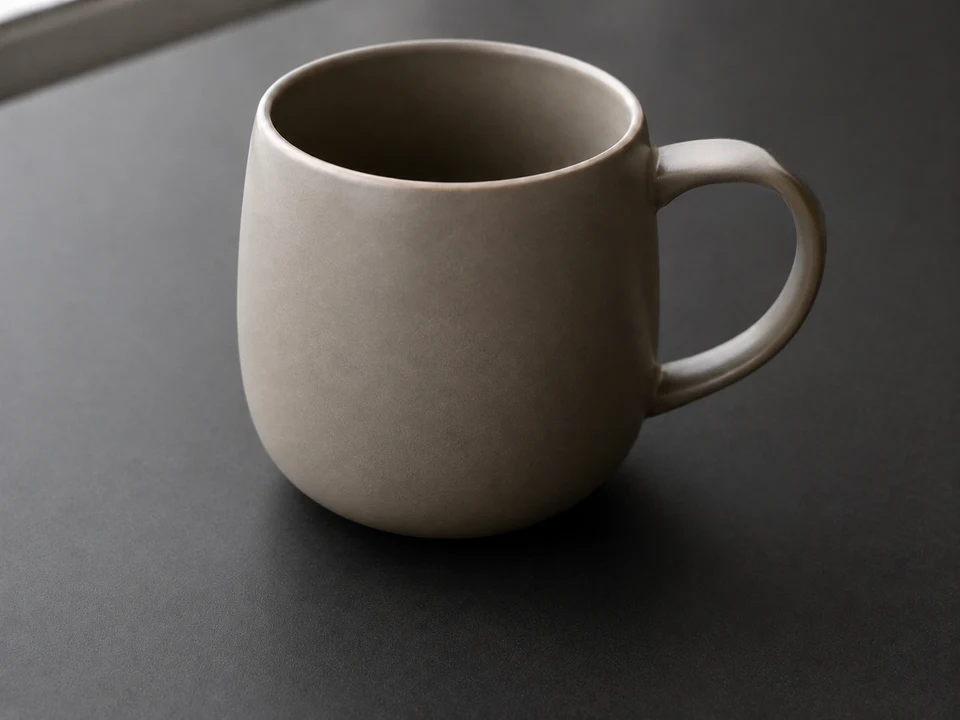
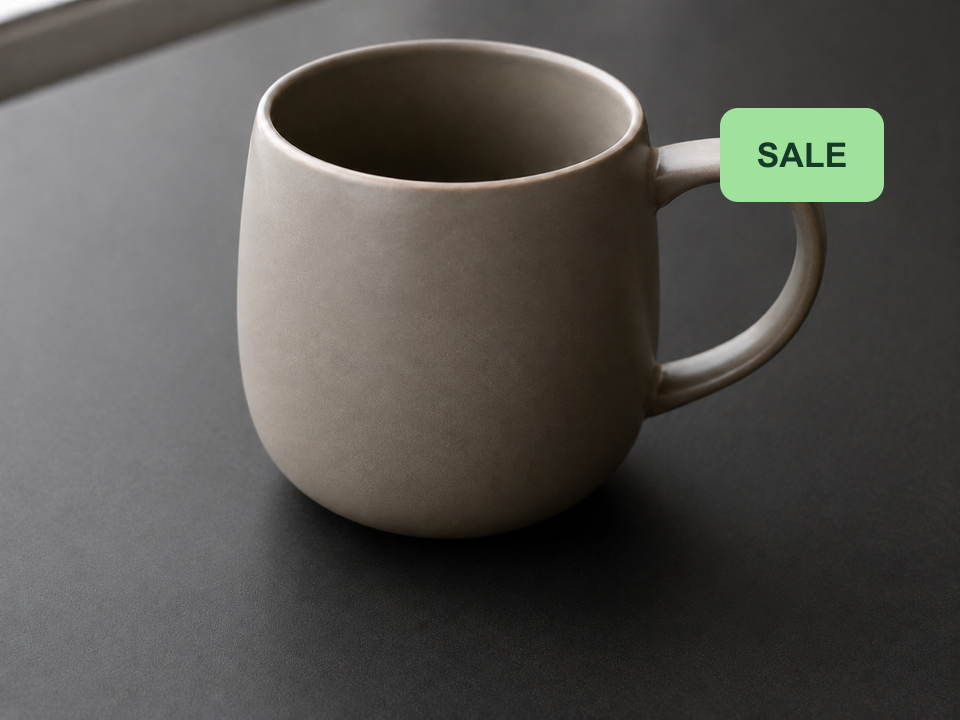
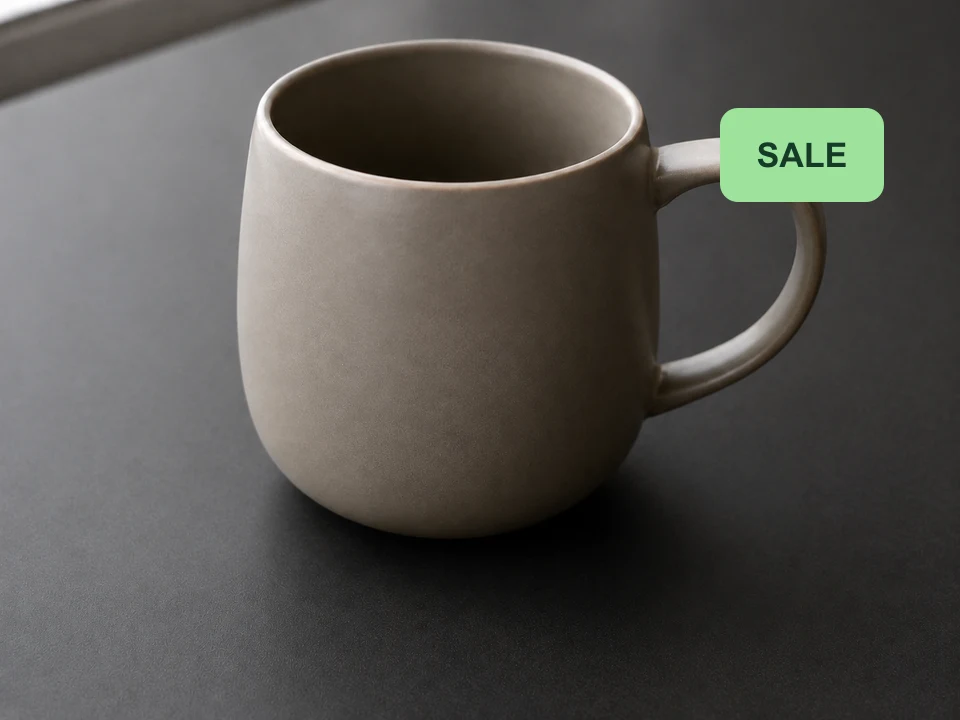
A sale badge beside a product

Cover the whole label and a small margin around it. Check the nearby handle and its shadow after cleaning.
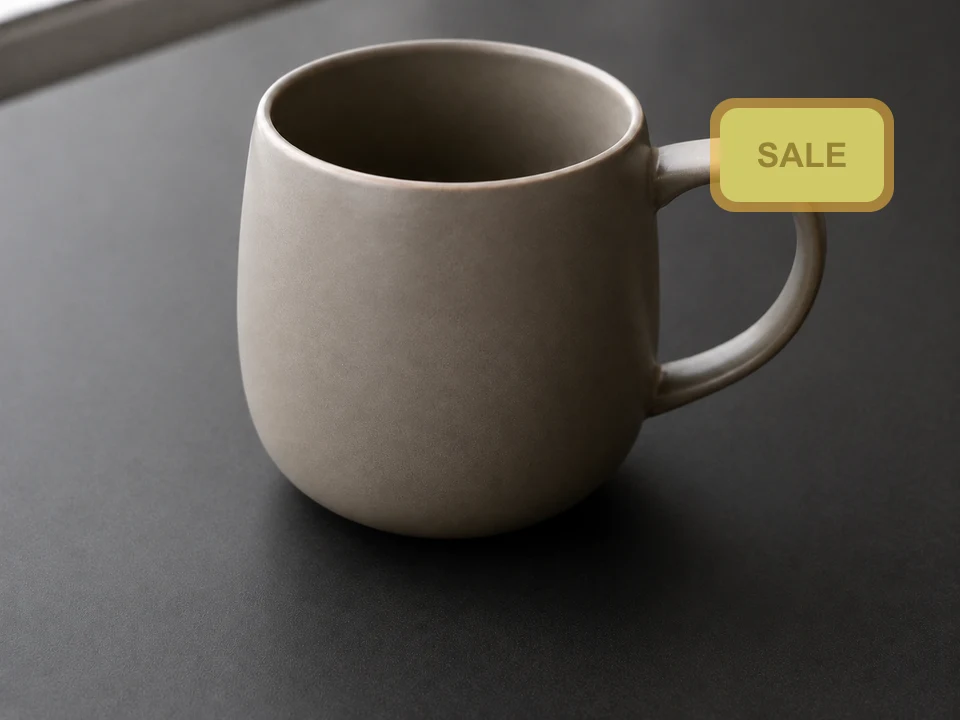
A sale badge beside a product — Before
Before
A sale badge beside a product — Selection
Selection
A sale badge beside a product — Actual result
Actual result

The label is removed in this run. The area beside the handle is reconstructed, so compare that edge before reusing the image.

Download this input and try it yourself
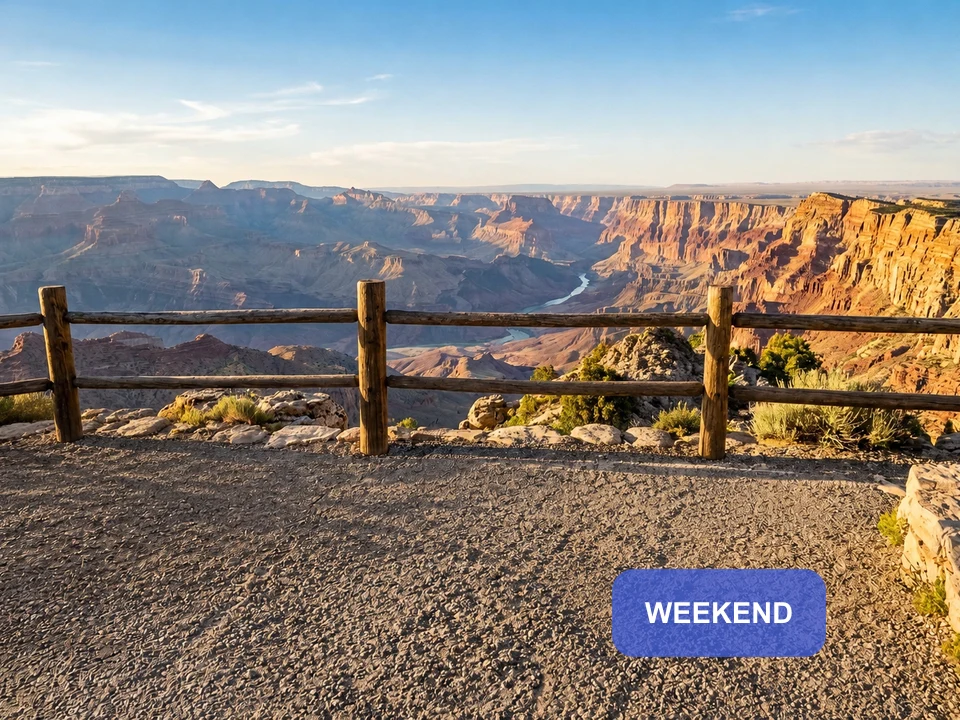
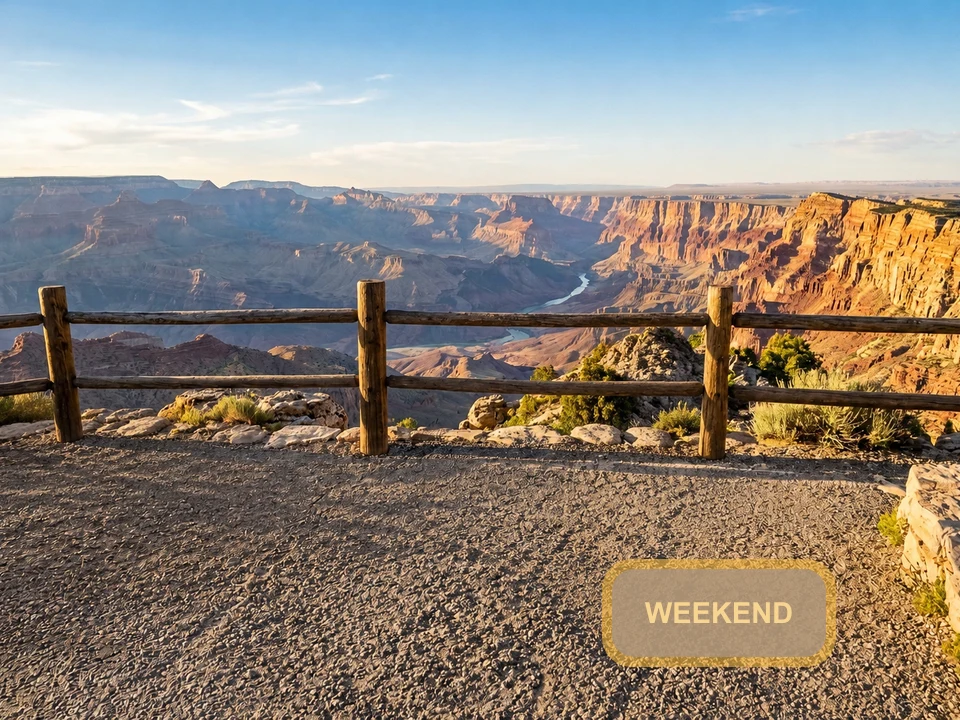
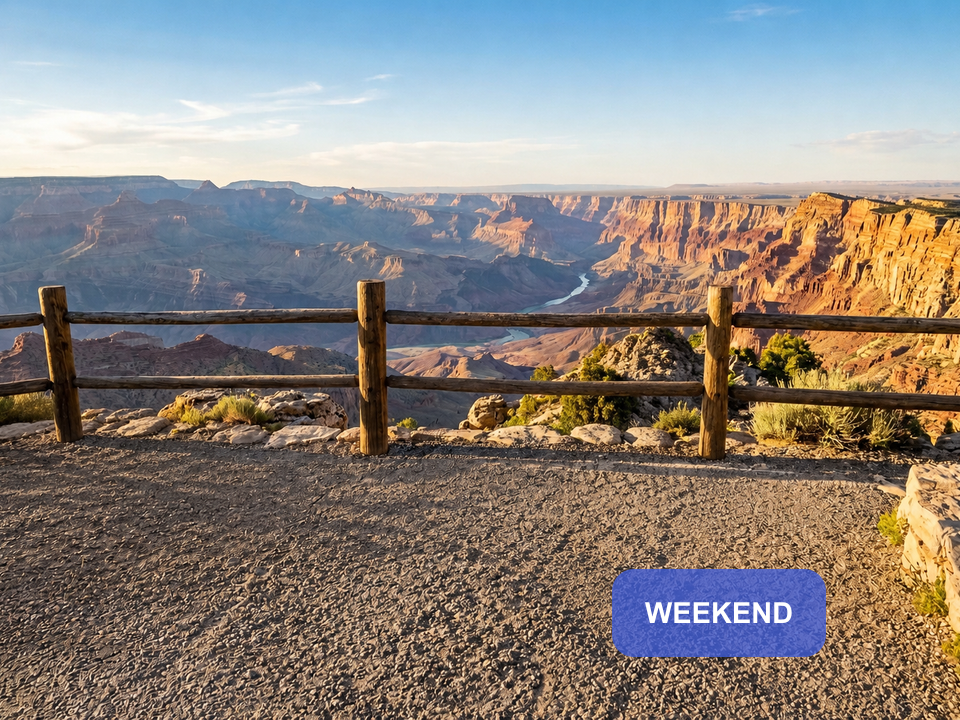
A translucent banner over gravel

Select the tinted rectangle as well as its letters. Removing only the text would leave the colored background behind.

A translucent banner over gravel — Before
Before
A translucent banner over gravel — Selection
Selection
A translucent banner over gravel — Actual result
Actual result

The banner is removed. The reconstructed patch looks smoother than the nearby gravel at close range; inspect texture before publishing.

Download this input and try it yourself
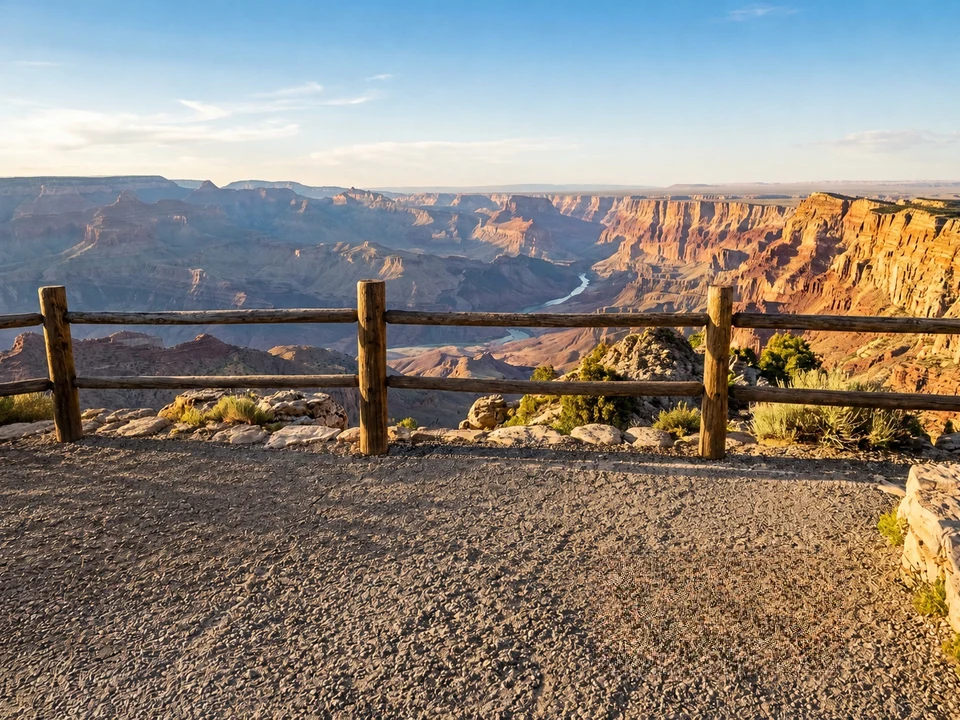
How to clean this image

1
Upload an authorized flattened image, or use the original layered file if it is available. (Remove an overlay)
2
Cover the badge artwork, white border, drop shadow, and all tinted semi-transparent pixels. Work separately on unrelated overlays.
3
Inspect the fill for a rim, halo, broken line, or invented product detail. Retry small residue locally, and keep the original if accurate hidden detail is required.

Best for

  • Old decorative promo badges on owned product or marketing images, away from required information.
  • Temporary draft or approval stickers on a plain background.
  • Bordered, shadowed, or translucent overlays whose full affected area can be selected and reviewed.

Usage rules

  • Do not remove watermarks, copyright notices, ownership marks, trademarks, or required disclosures
  • Do not alter legal records, receipts, payment screenshots, compliance images, or evidence-like content
  • Only remove overlays from images you own or have explicit authorization to modify

Related pages