How to Fix a White Border After Sticker Removal

White rim or halo left after removing a sticker? Learn to cover borders, shadows and translucent edges, refine the mask, and check the generated fill.

A white border after sticker removal often means the mask covered the artwork but missed its white cut line or translucent edge. Inspect the result, cover the remaining rim and shadow, and try a local cleanup. If the whole fill looks wrong, return to the original and revise the full mask. CleanerPix generates a replacement from nearby pixels; it cannot recover the authentic content the sticker hid.

Watch a real edit: retrying a missed white border

This silent recording follows an upload, a narrow selection, the remaining border, an expanded retry, and a download. Both edits are actual processing runs; each retry uses another edit. English and Chinese captions are available, with the steps also written below.

First, identify what is left

Keep the original image so you can compare the sticker footprint with the result. A narrow white ring usually follows the sticker’s cut-line border. A darker crescent may be its drop shadow. A faint colored fringe can come from glow, antialiasing, or semi-transparent pixels outside the solid artwork. These are parts of the overlay too, even when they are hard to see against a pale background.

A soft patch with no remaining sticker outline may instead be an imperfect generated fill. Expanding the mask repeatedly is not always the answer: it removes more real background from the reference. Decide whether you are fixing leftover overlay pixels or an unconvincing reconstruction before the next edit.

Step 1: cover the complete sticker footprint

Open the sticker remover and upload your own or authorized JPG, PNG, or WebP photo. Brush across the colored artwork, the entire white border, the soft drop shadow, and any visible translucent fringe. Review the outside edge of the selection before running cleanup. Use a smaller brush near a product outline or another detail you want to preserve.

There is no fixed number of extra pixels that fits every image. A small crisp icon and a large sticker with a blurred shadow need different coverage, and zoom changes how wide the brush appears. Use the visible footprint as your guide. For separate stickers, try separate edits so each result is easier to inspect.

Step 2: inspect the boundary and retry the residue

  • Run cleanup, then compare the edited boundary with the original sticker. Look at both the overall photo and the area close up.
  • If a white rim remains but the central fill is usable, continue editing the result and brush the remaining white pixels plus their faint fringe. Include a surviving shadow in the same local selection.
  • If the fill bends a straight line, changes a product outline, or replaces a large area with the wrong texture, return to the original and revise the full selection. Repeatedly editing a poor fill can compound invented details.
  • Run the next edit and inspect again. Stop when the result is suitable for its intended use; if the hidden detail must be exact, find the clean original instead.

Each cleanup or retry is another edit. Guests have 3 free edits daily without signing up; signed-in users have 5 daily free edits. Check the mask before running it so you can use those attempts to address a specific issue.

See actual edits: white edges and textured backgrounds

These demonstration inputs were made by adding overlays to photos already used in CleanerPix’s public examples, then processing them with the image-removal workflow. They are authored demonstrations, not customer photos or a benchmark dataset. Compare the original overlay, mask, and generated output. In the bordered-sticker case, the overlay crosses a printed-photo edge and wood; that edge has to be generated. In the gravel case, the removed badge leaves a smoother patch when inspected closely.

See what the selection changes

We added our own overlays to existing public example images and processed them with CleanerPix on November 5, 2026. These are controlled demonstrations, not customer photos or a success-rate study. The results are actual edits, not the clean reference pictures.

Swipe to compare the input, selection, and result.

A sticker with a white border and shadow

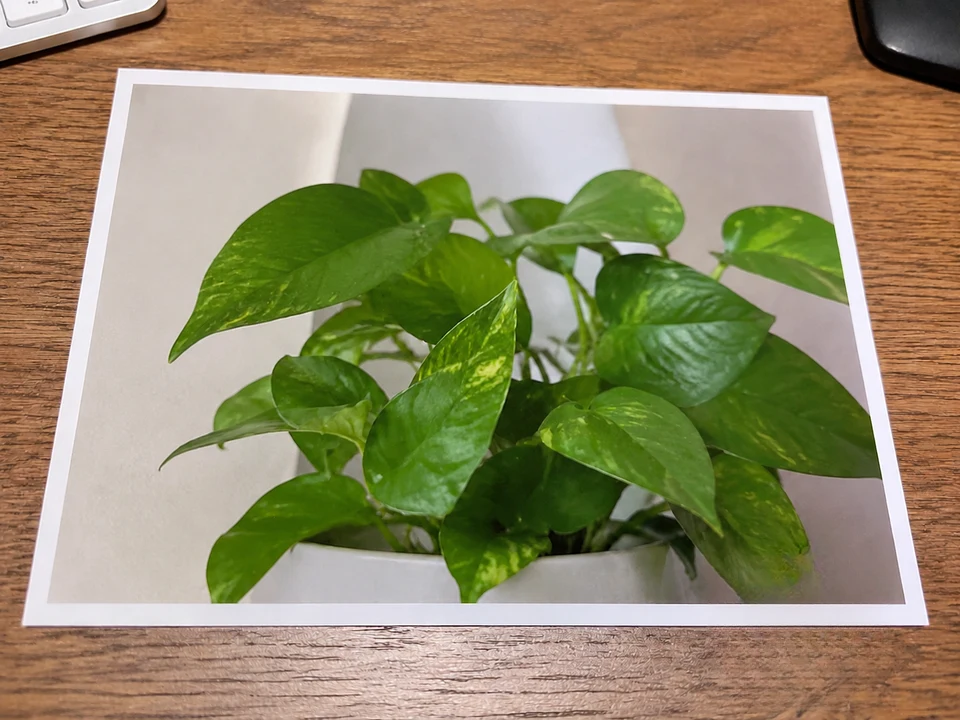
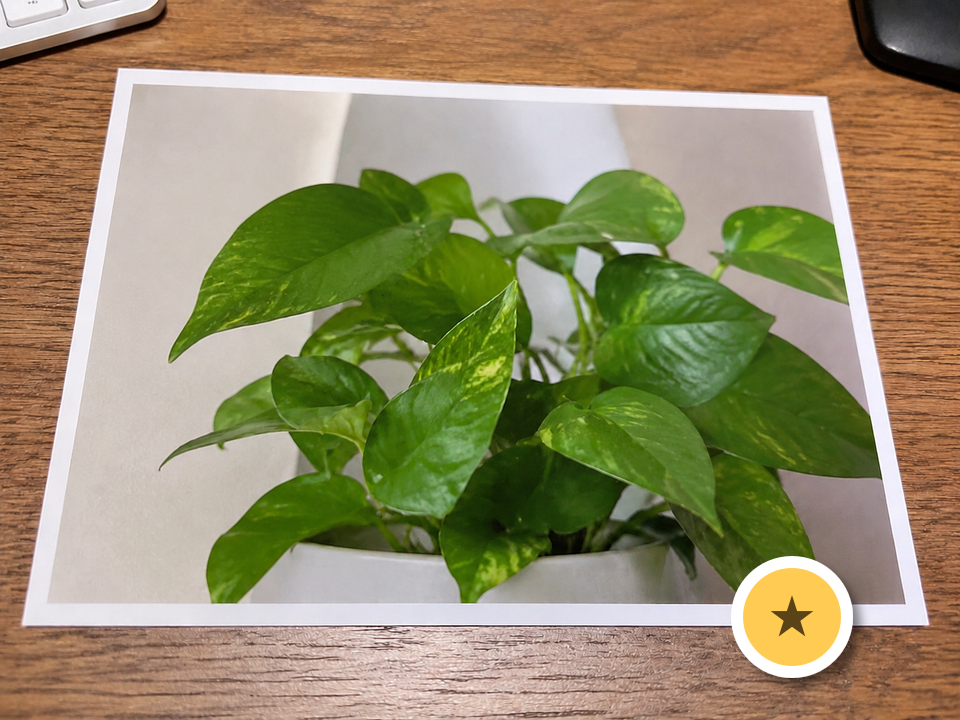
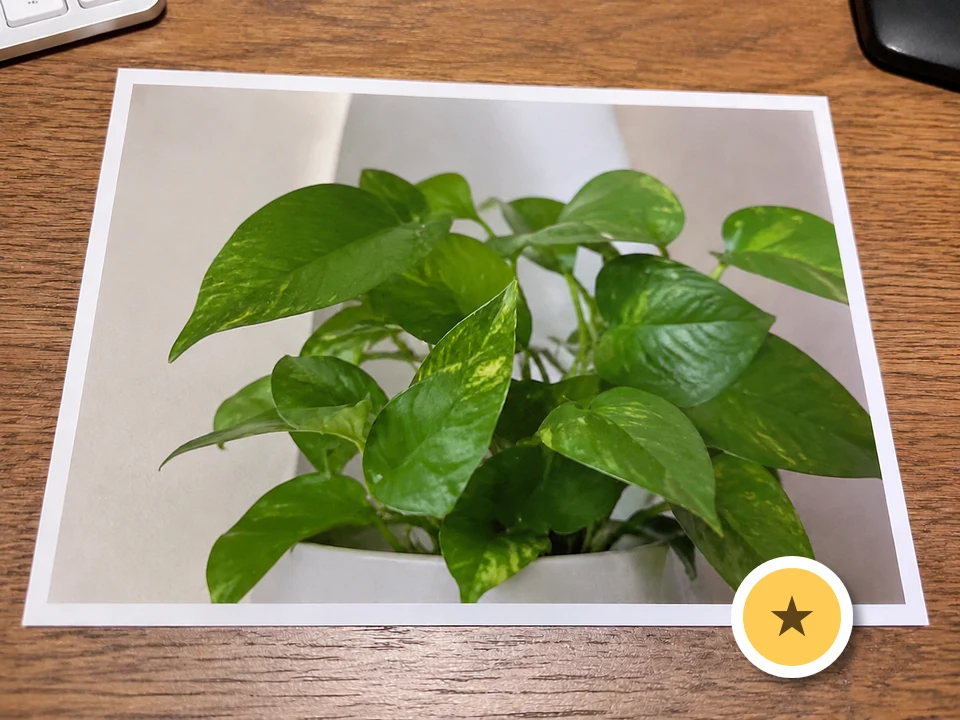
Include the white outline and the shadow in the selection. Here the sticker crosses a photo edge and a wooden surface.
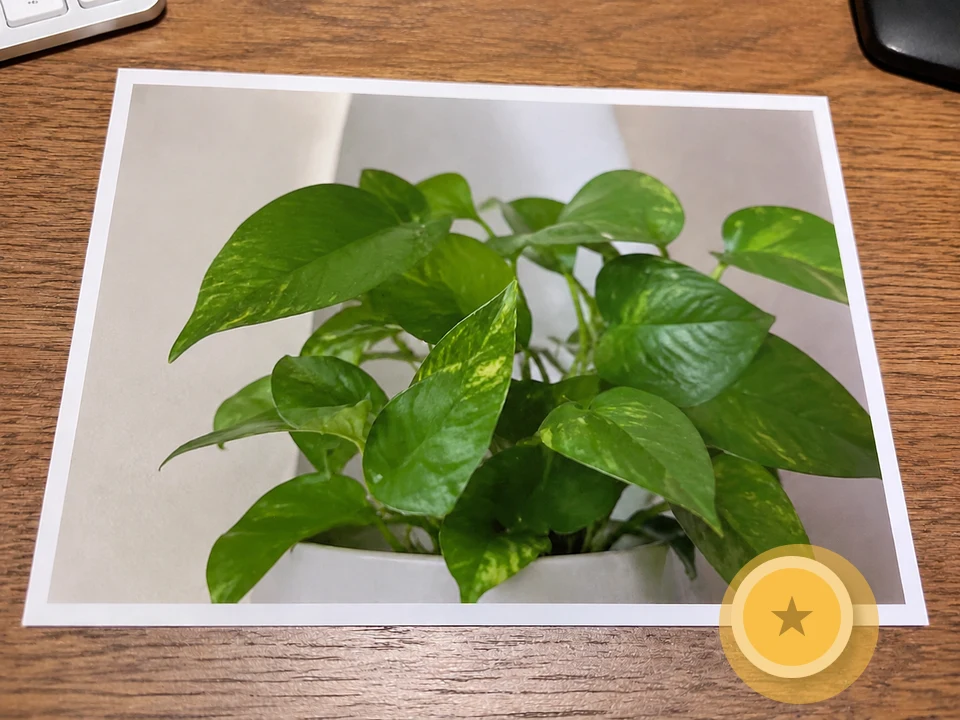
A sticker with a white border and shadow — Before
Before
A sticker with a white border and shadow — Selection
Selection
A sticker with a white border and shadow — Actual result
Actual result

The full selection removes the sticker footprint in this run. Check both the straight photo edge and the surrounding wood grain.

Download this input and try it yourself
What happens if you paint only the center?

In a separate run we selected only the center, then expanded the selection and retried on that output. These are the two actual results. Check the entire sticker footprint before repeating a pass.
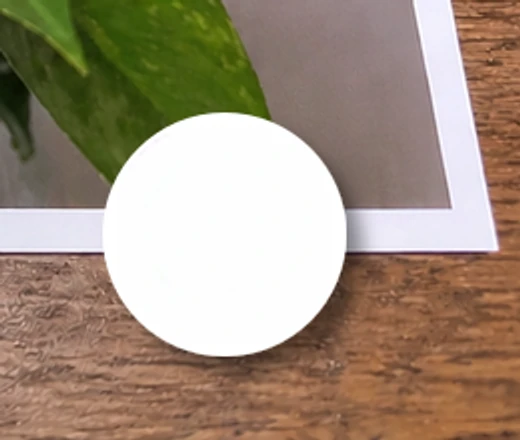
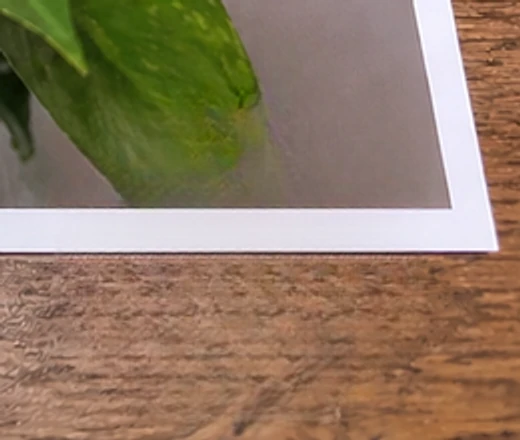
A sticker with a white border and shadow — Narrow selection — detail
Narrow selection — detail
A sticker with a white border and shadow — Expanded selection — detail
Expanded selection — detail

A translucent banner over gravel

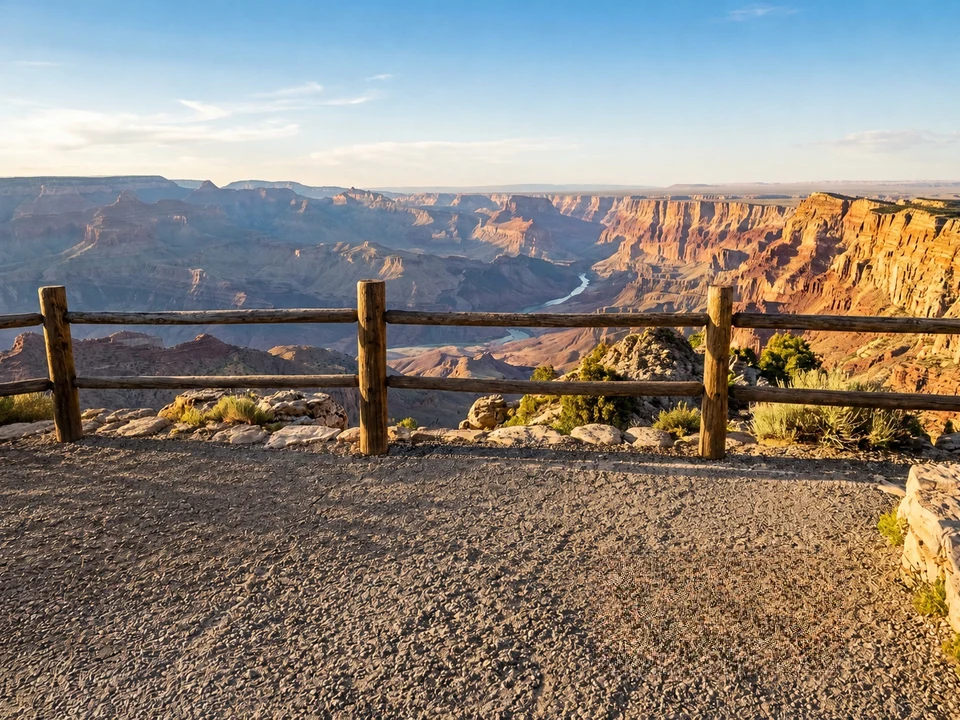
Select the tinted rectangle as well as its letters. Removing only the text would leave the colored background behind.

A translucent banner over gravel — Before
Before
A translucent banner over gravel — Selection
Selection
A translucent banner over gravel — Actual result
Actual result

The banner is removed. The reconstructed patch looks smoother than the nearby gravel at close range; inspect texture before publishing.

Download this input and try it yourself

A removed graphic and an accurate reconstruction are different things. Check texture direction, edge alignment, grain, and lighting even when the sticker itself has disappeared. These examples show particular inputs and outputs, not a guarantee for another photo.

How the approach changes by overlay type

What you seeWhat to include in the maskWhat to check afterward
White die-cut stickerArtwork, white cut line, soft shadow, and antialiased outer edgeA remaining white ring or a changed nearby edge
Semi-transparent overlayThe entire tinted footprint, including faint outer pixelsA colored ghost, uneven brightness, or a soft patch
Small decorative emojiFull icon, outline, glow, and shadowBackground continuity; do not infer authentic hidden details
Old product promo badgeBadge, lettering, border, and shadowPackaging, product shape, labels, and required information

When to use the original or a layered file

If you still have the layered design, hide or delete the sticker layer and export again. That preserves the real background. In a flattened photo, an opaque sticker has replaced the pixels below it. Generated fill can make a plausible background, but it cannot reveal the original face, text, product feature, or document information.

Large covered areas, fine repeating patterns, small lettering, and important subject edges are difficult cases. Do not remove an emoji used to protect someone’s privacy or identity. Do not alter receipts, IDs, payment screenshots, legal records, or other evidence-like images. For a product listing, use an accurate original if the badge hides a feature a buyer needs to judge.

Why did a white ring remain after I removed the sticker?

The mask may have missed the white cut line, antialiased edge, or faint shadow beyond the sticker artwork. Compare the result with the original, select the remaining rim and its fringe, and try a local cleanup. If the fill itself looks wrong, revise the mask from the original instead.

Should I always make the mask much bigger?

Cover all affected pixels, but avoid replacing more real background than necessary. A very large mask leaves less surrounding context and may change nearby details. There is no universal pixel margin for every resolution or sticker style.

Can removing an emoji restore the real face underneath?

No. A flattened image does not contain the authentic pixels an opaque emoji replaced. CleanerPix generates a fill from visible context, not a recovered original face. Do not use it to bypass privacy or consent; ask the owner for the unedited photo.

Why is the sticker gone but the background still looks soft?

The generated fill may not continue the original texture accurately, especially over gravel, fabric, or fine patterns. Inspect the mask and consider a local retry, but use the original or manual editing when precise texture matters.

Try the sticker remover free

Written by CleanerPix. Examples are authored demonstrations processed with CleanerPix; they show individual results and limitations, not measured performance guarantees.